
Some of my trees get names. This one was 42. If you’ve read The Hitchhiker’s Guide to the Galaxy, you already know why. If you haven’t, 42 is the answer to the ultimate question of life, the universe, and everything. Nobody in the book knows what the question was. That felt about right for a pine I’d just brought home from a workshop with a lot of enthusiasm and not much of a plan.
This is the first of a series following individual trees over years, not a single afternoon. Before-and-after photos make bonsai look like a weekend’s work. It isn’t, and the in-between years are where most of the learning happens.
Where it started
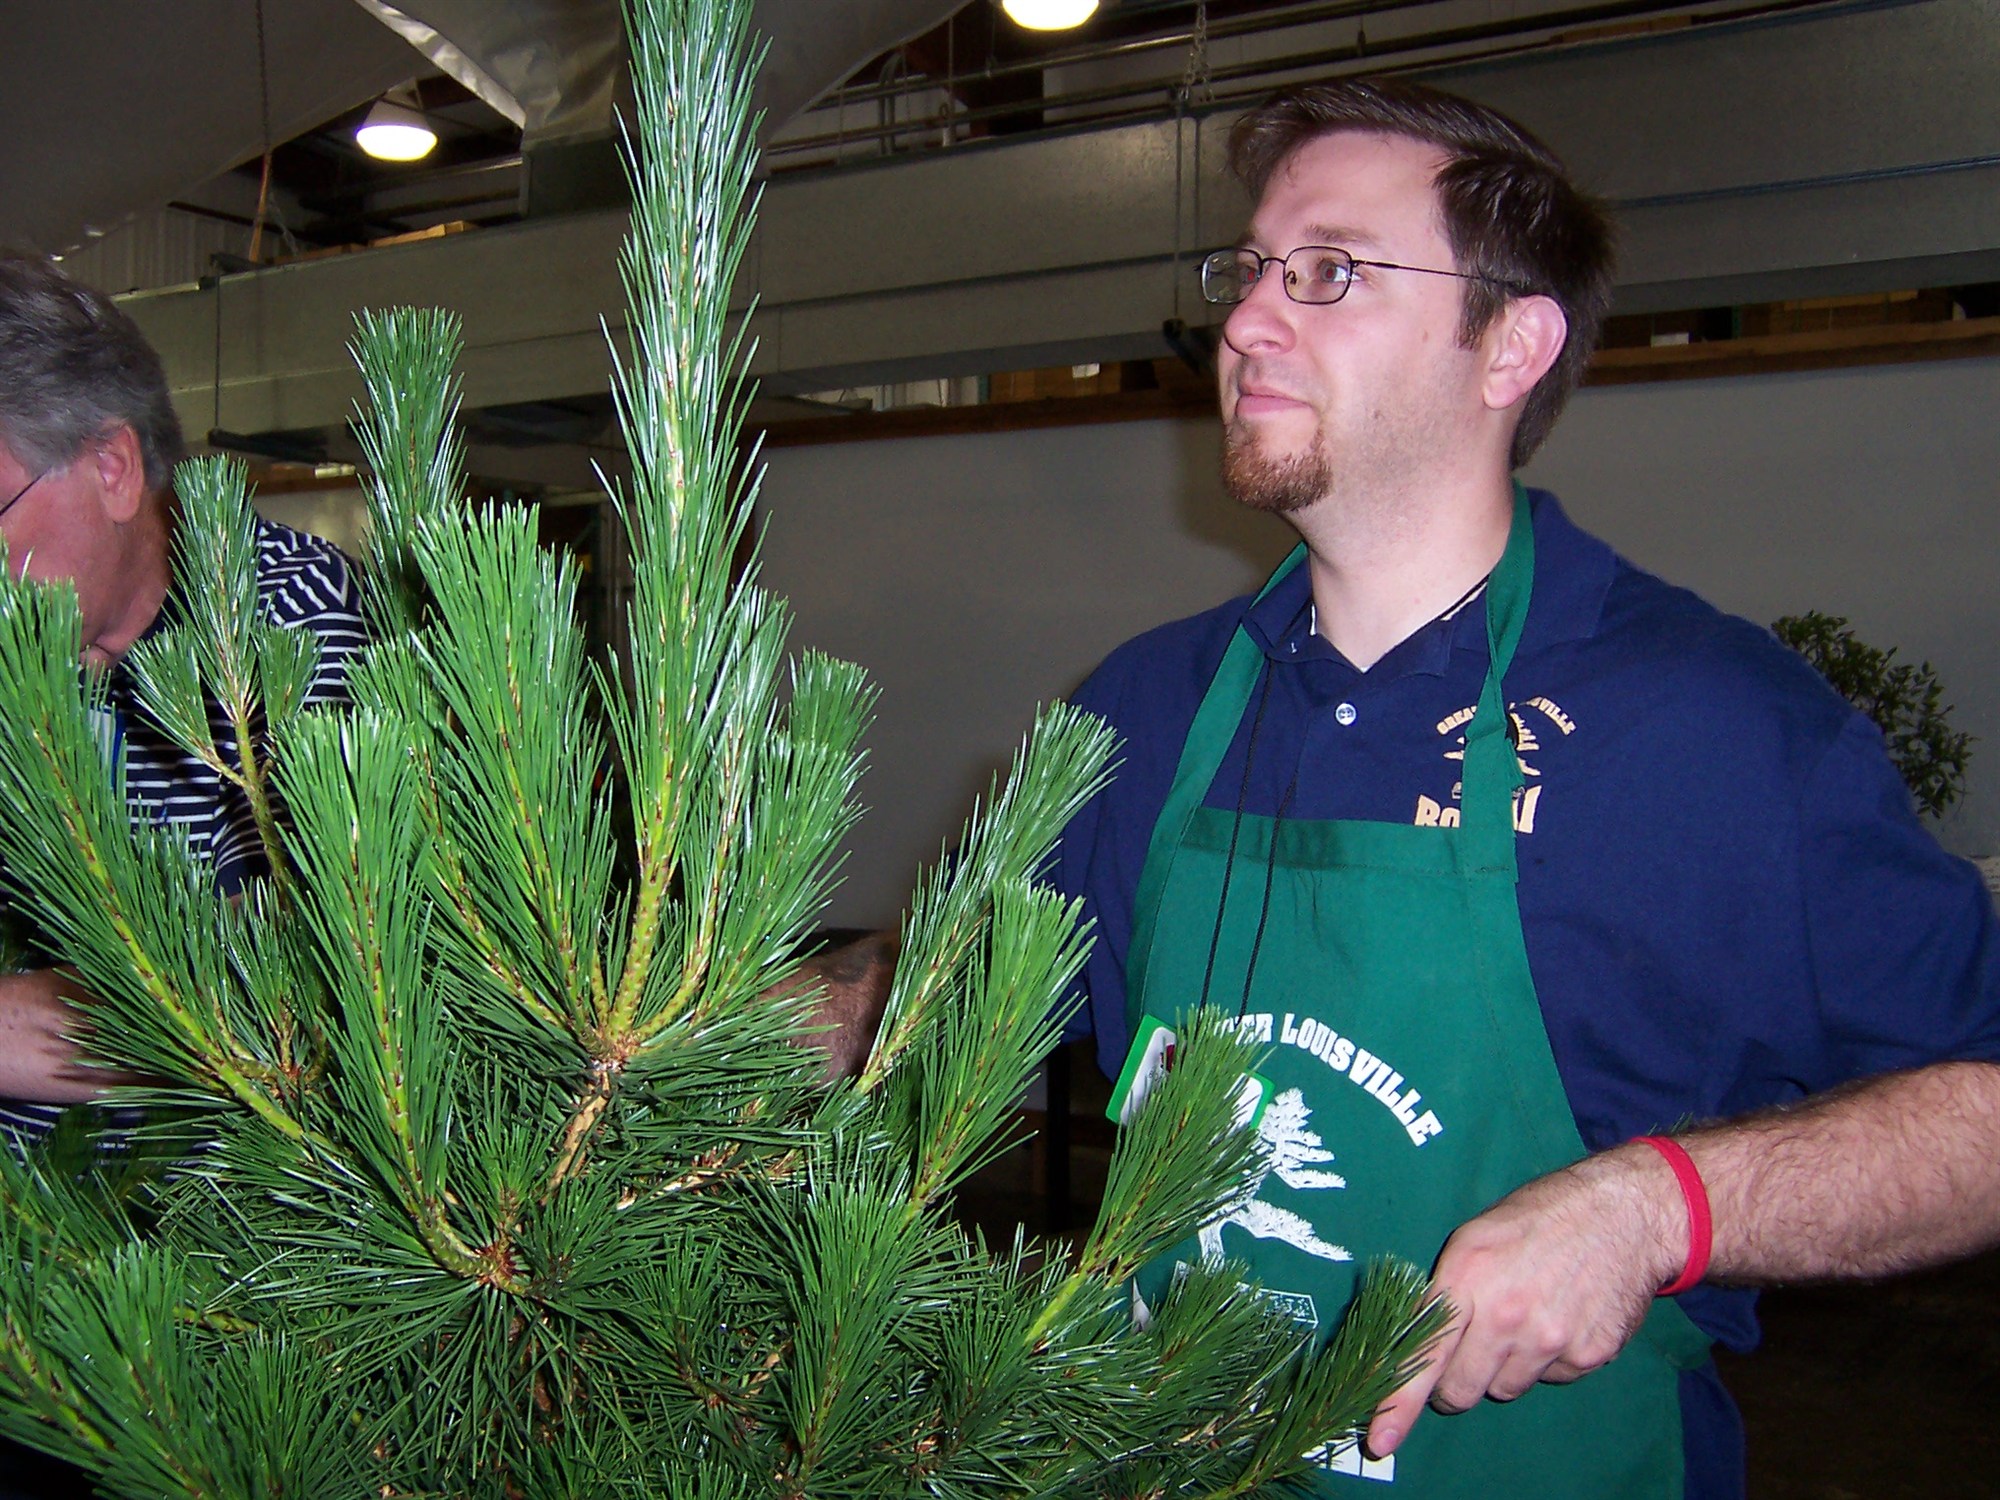
42 began as workshop material at Brussel’s Bonsai Rendezvous in Olive Branch, Mississippi, in a session led by Marc Noelanders. It was a Japanese black pine (Pinus thunbergii) in a black nursery pot: healthy, vigorous, and completely overgrown. You couldn’t see the trunk for the needles.
That’s typical of good nursery stock, and it’s the right problem to have. A pine that has been allowed to grow freely has the energy to recover from a hard first styling. A weak tree doesn’t.
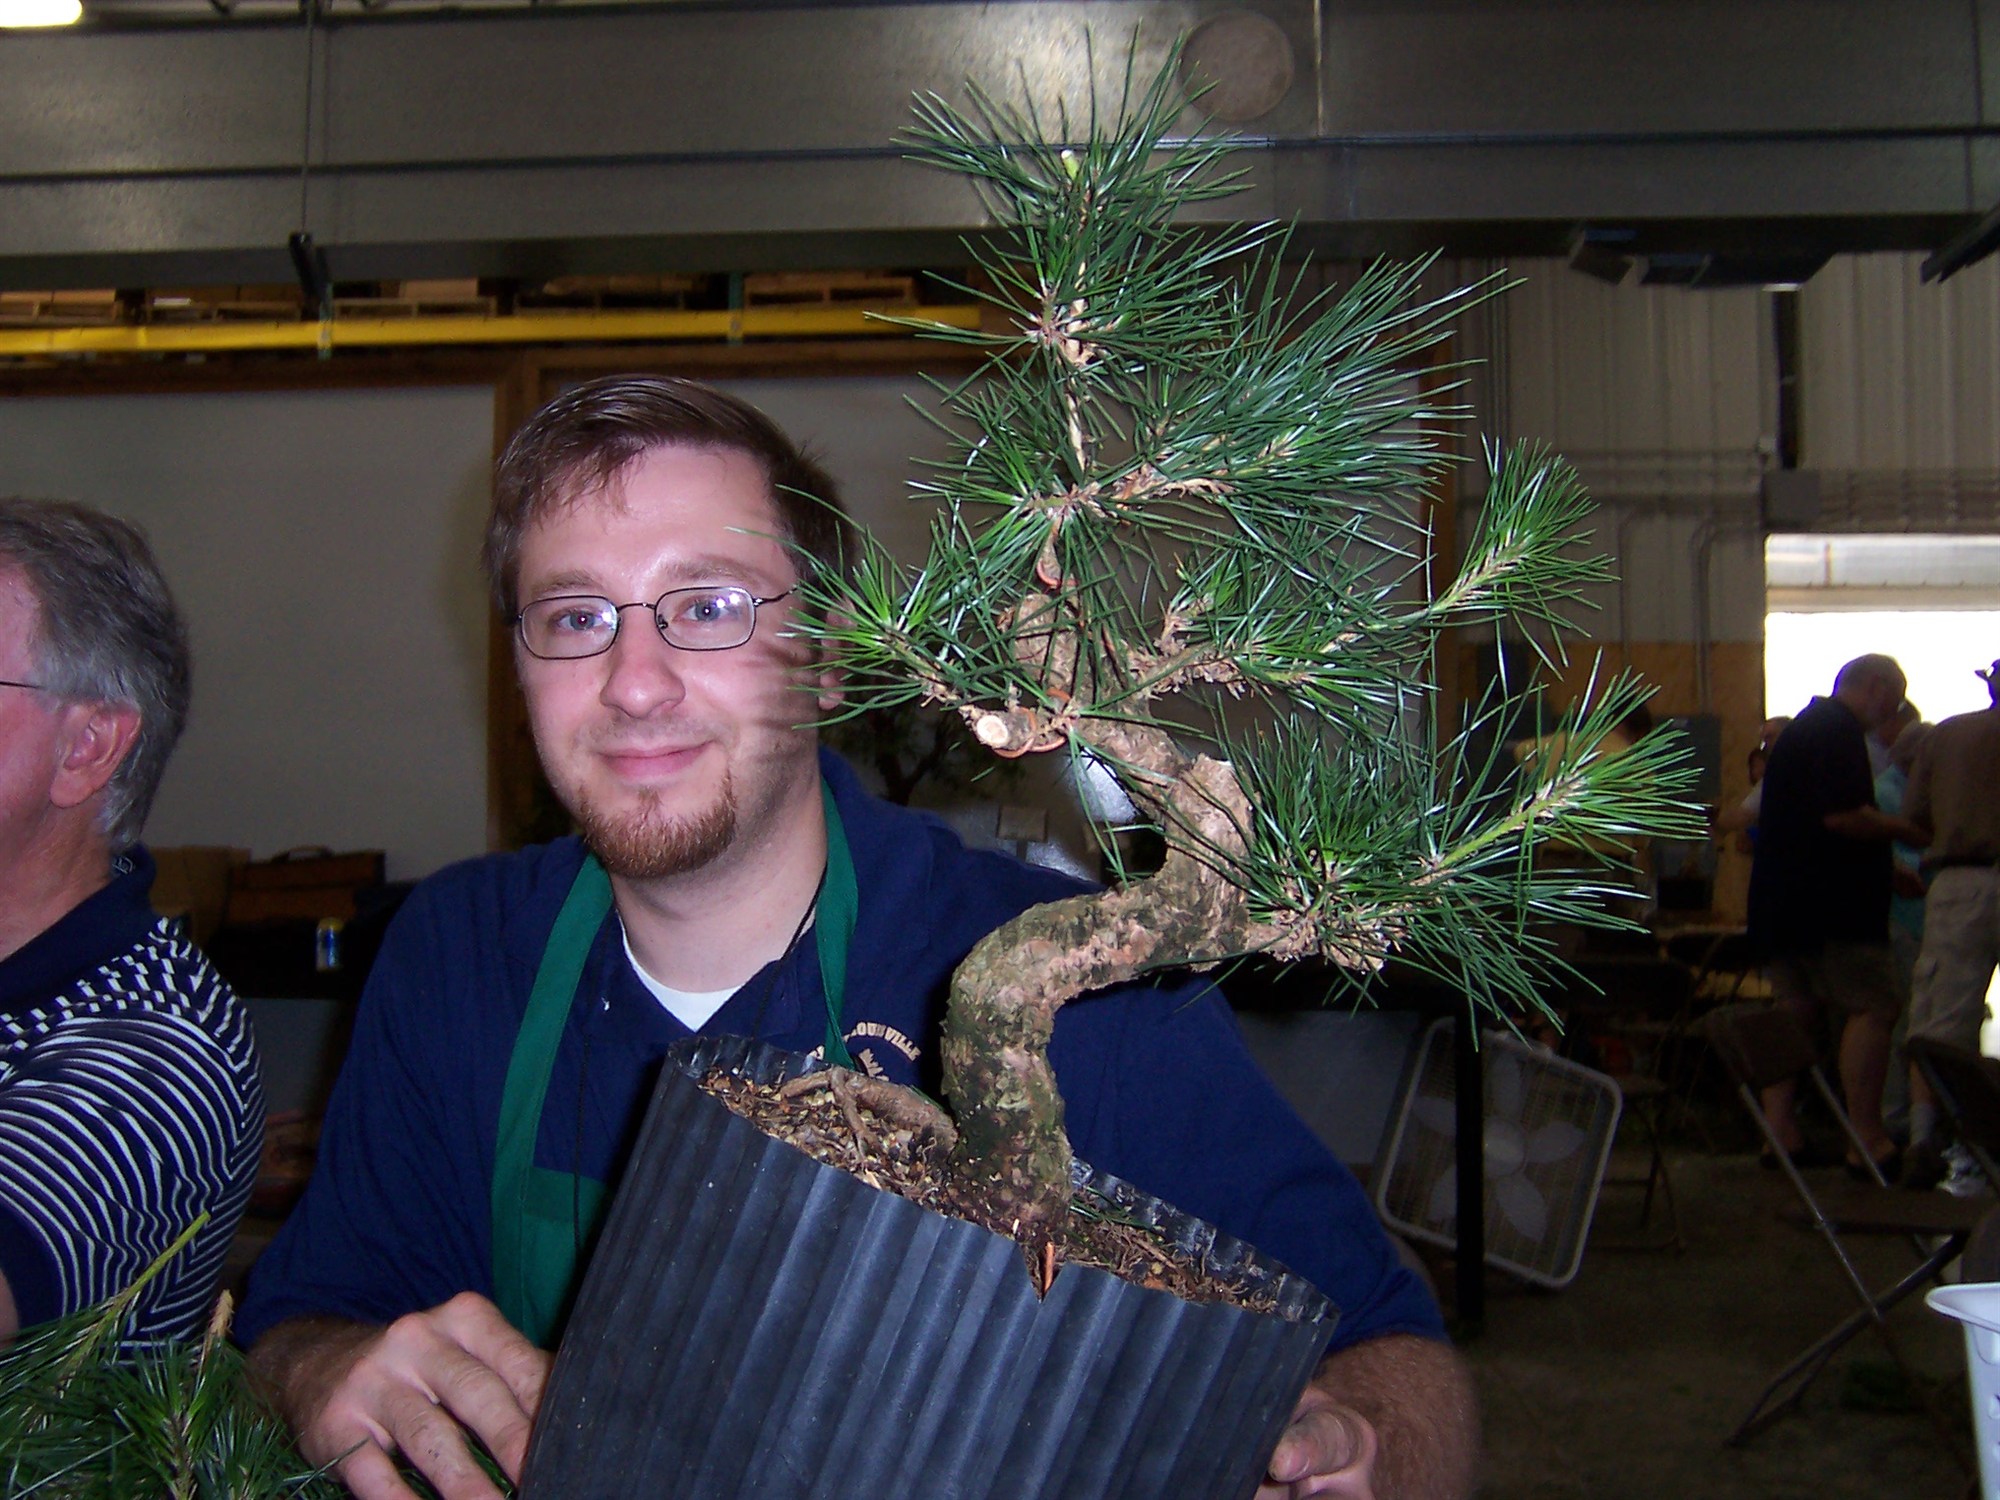
By late morning the trunk was visible for the first time, and it had movement worth keeping. Most of the work in a first styling is taking things away: removing the branches that crowd the trunk line, so you can see the tree you’re actually working with.
The first winter
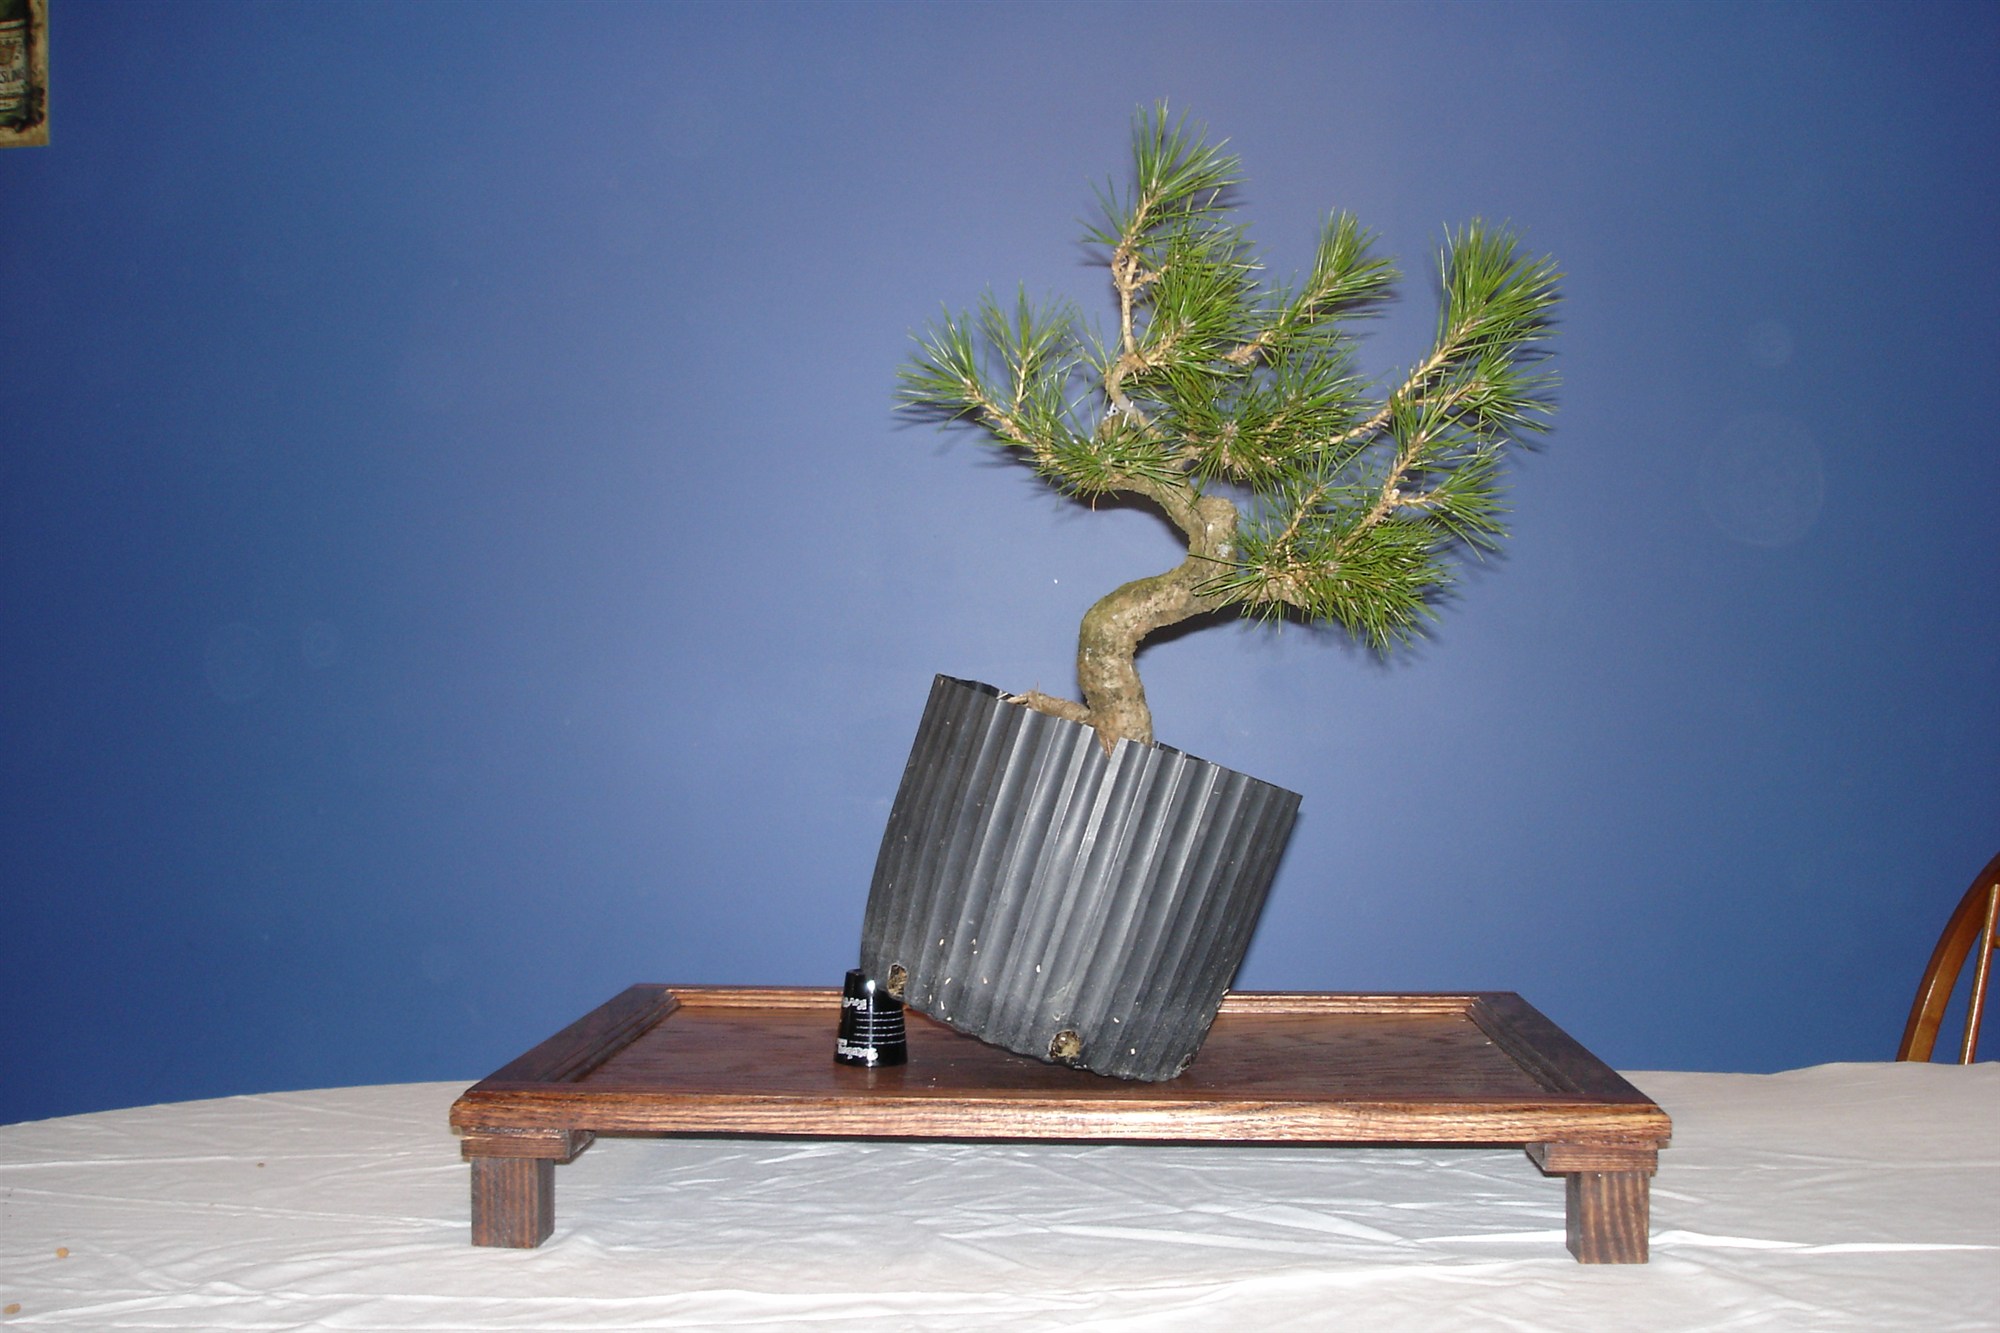
It spent the next year in the nursery pot. That’s deliberate: a tree that has just lost most of its foliage needs time to rebuild before it loses roots too. Styling and repotting in the same season asks a pine to recover from two injuries at once.
That winter I tilted the whole nursery pot on the stand to try a new planting angle. Changing the angle changes everything about how the trunk reads: which way it leans, where the movement goes, which branches sit on top. A nursery pot lets you test that for a season before you commit to it in a bonsai pot, where changing your mind means another repot.
Into a bonsai pot
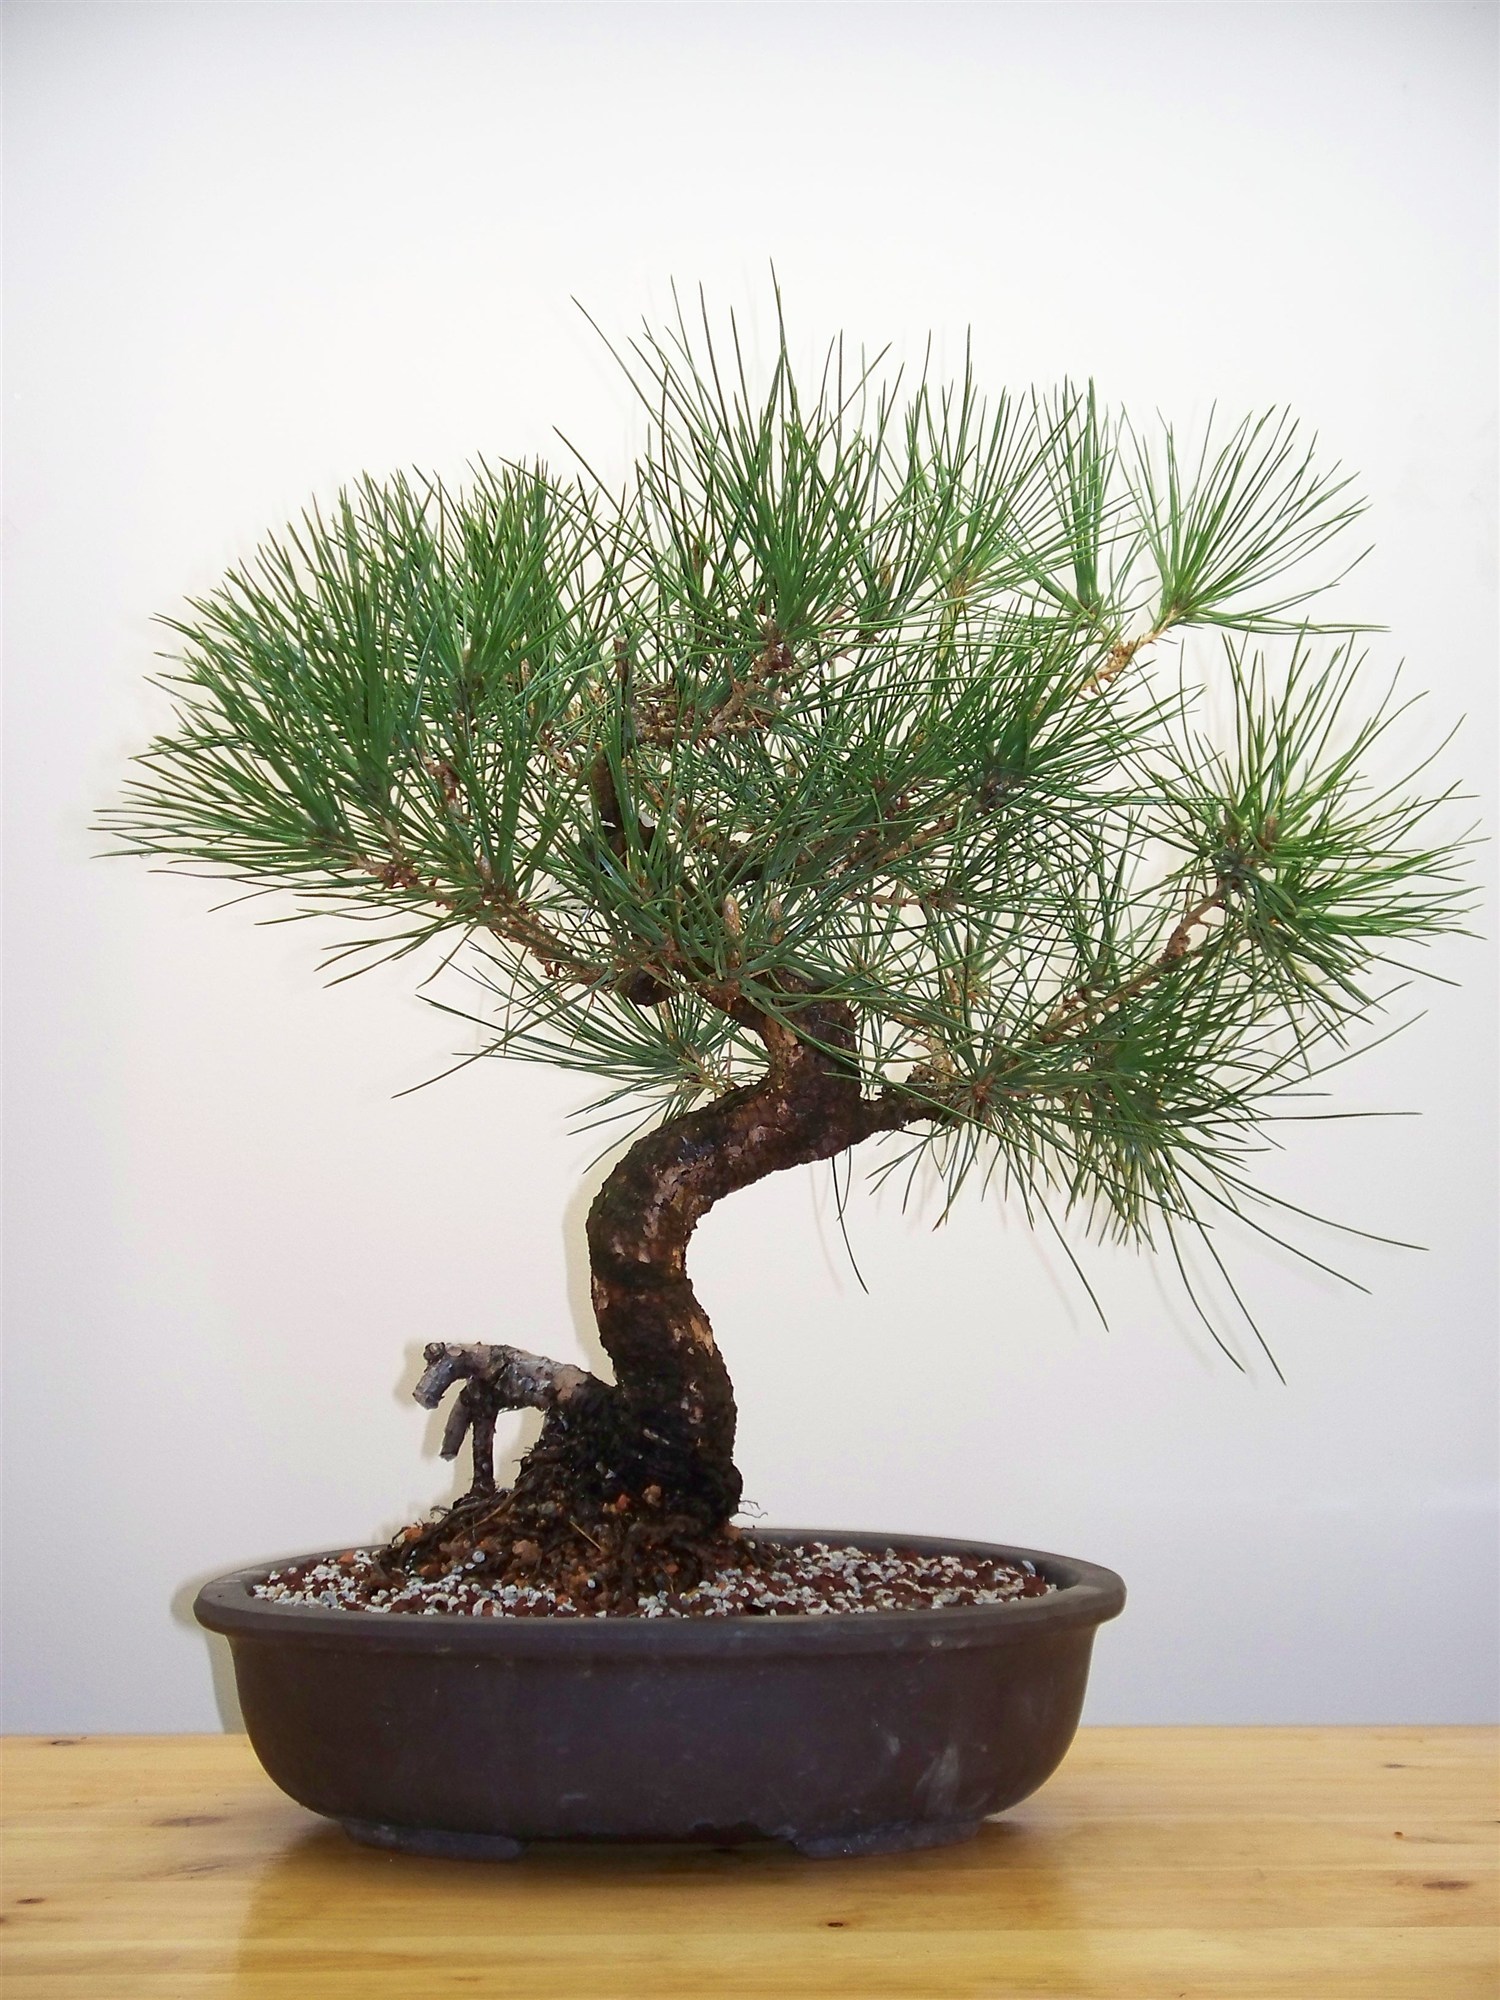
In early spring 2008 it went into a bonsai pot at the new angle, using Boon Manakitivipart’s half bare-root technique. You bare-root the front half of the rootball completely and get it into good soil, and you leave the back half alone. Two years later, you do the back half the same way.
The reason is the fungus on a pine’s roots. Black pine lives in partnership with mycorrhizal fungi, and a fully bare-rooted pine loses that whole colony in one session. The cost doesn’t show that afternoon; it shows over the next two seasons. Doing half at a time means the tree always has a working root system, and the undisturbed half carries it while the new half settles in.
By that spring the growth had filled back in: long, loose shoots in every direction. That’s what a healthy black pine does when you leave it alone. The next job was to start controlling where that energy goes.
Balancing the growth
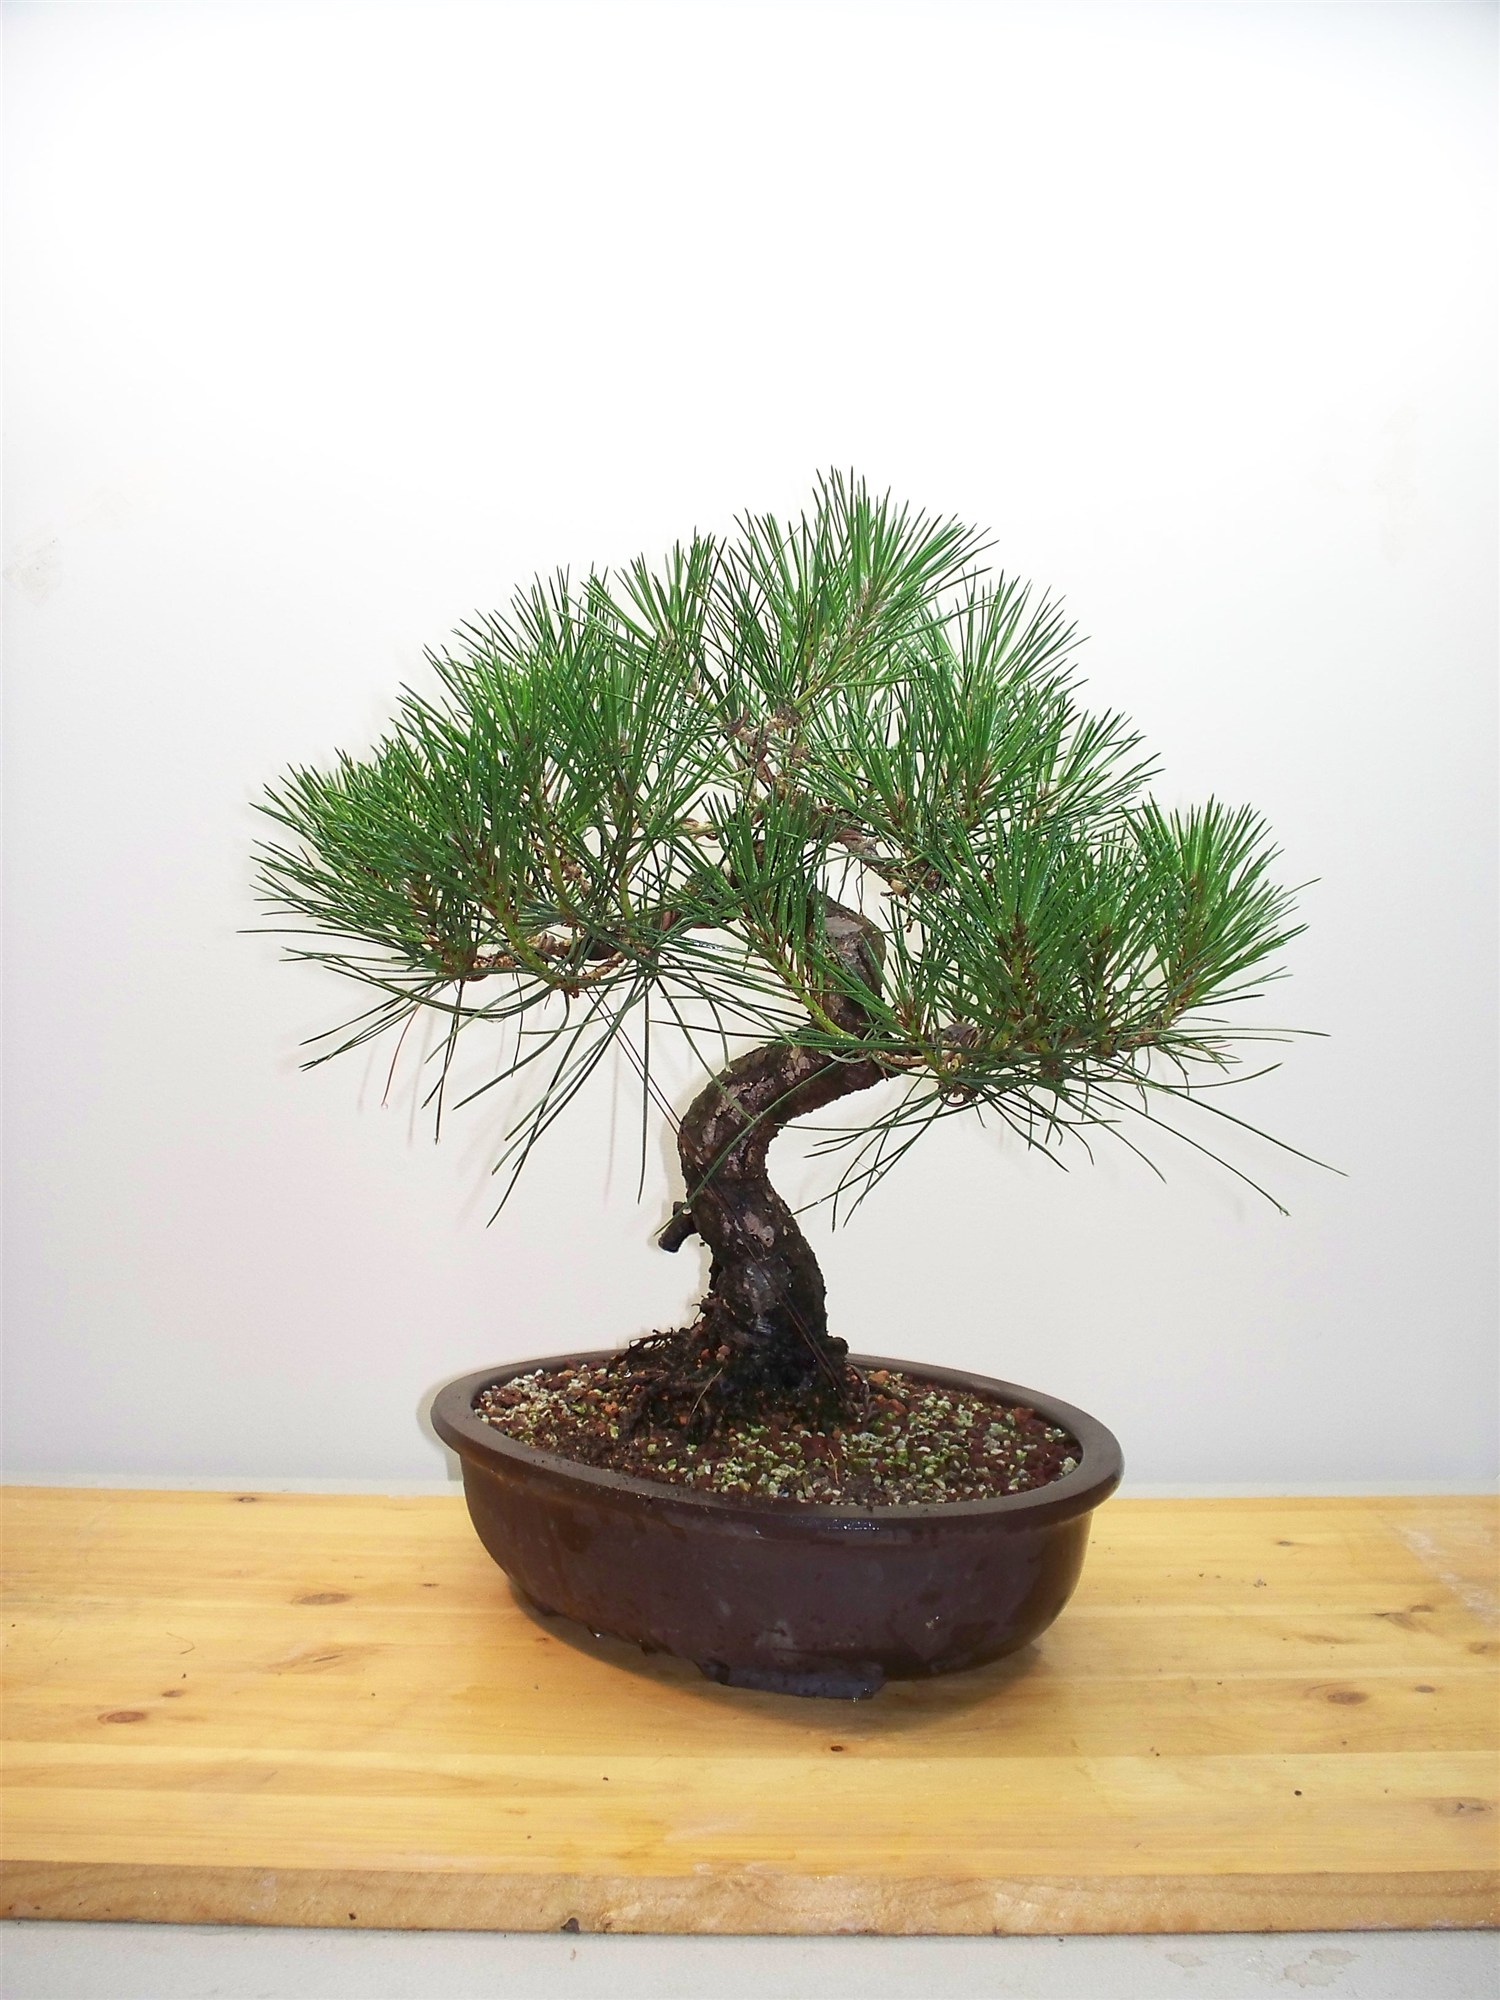
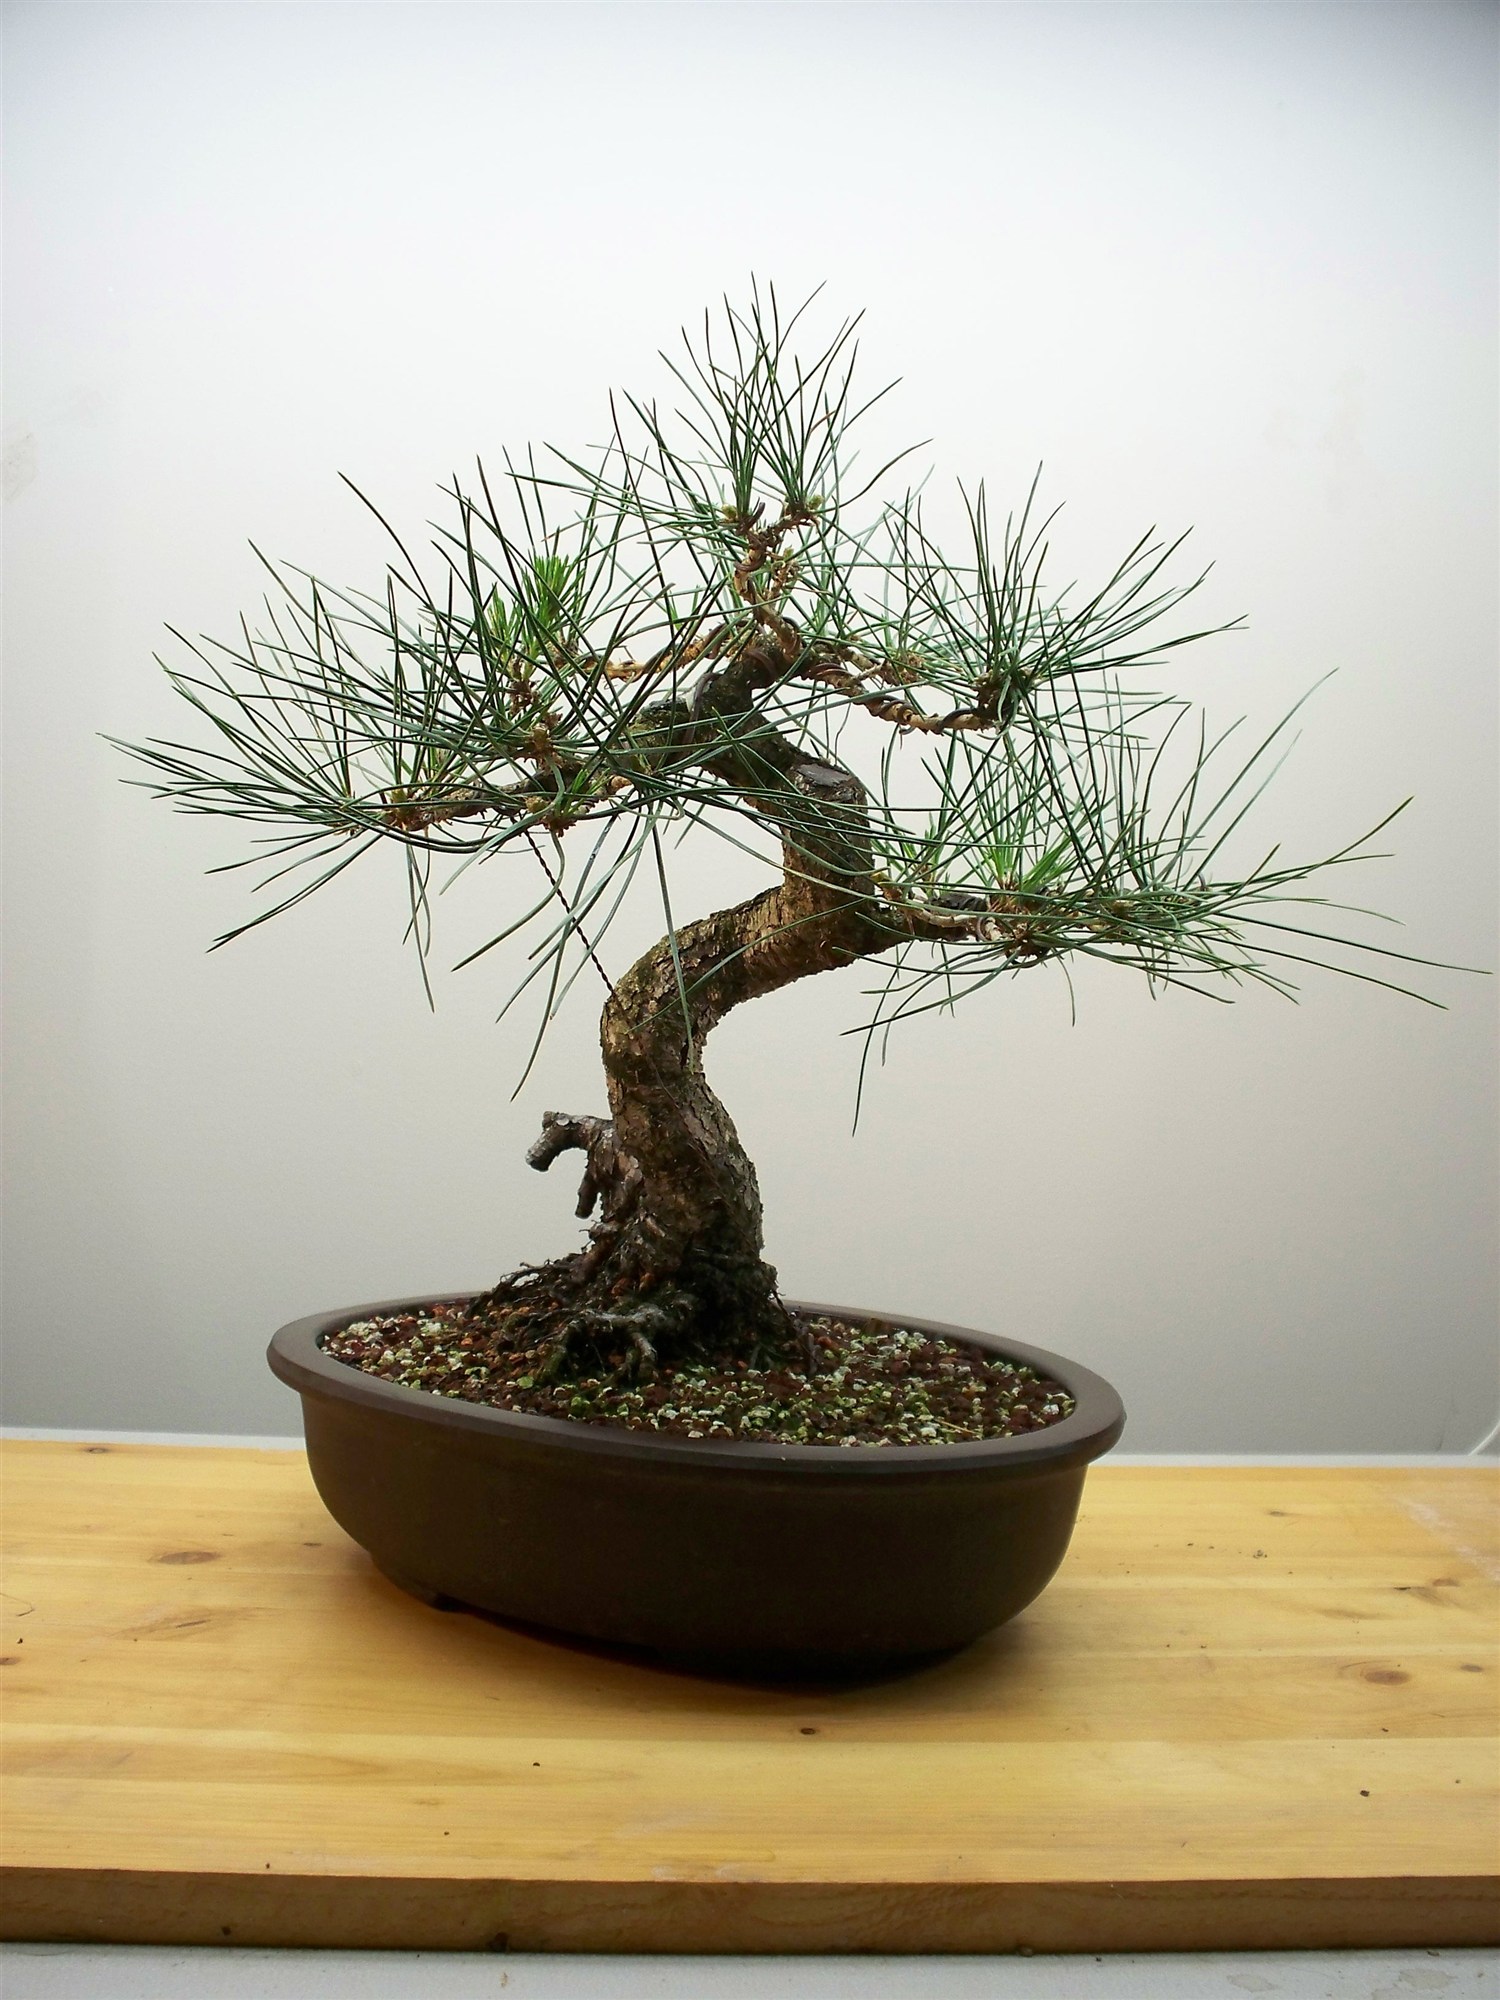
The difference between these two photos is less than two weeks. In early summer a black pine has put all of its spring growth out as candles, and the strong areas (usually the top and the outer tips) have taken more than their share. Decandling cuts that growth back, and the tree pushes a second, smaller flush of shoots. The needles that come with it stay shorter, and the growth is more even across the tree.
On 42 I cut all the candles in one session. When you do the whole tree at once, the cut can’t do the balancing, so the needles do it instead: you leave more needles on the weak areas and fewer on the strong ones, and the weak areas have more to feed their second flush.
It looks drastic. It’s also the single most useful technique in black pine work, which is why my book gives it a whole chapter.
Wiring the structure
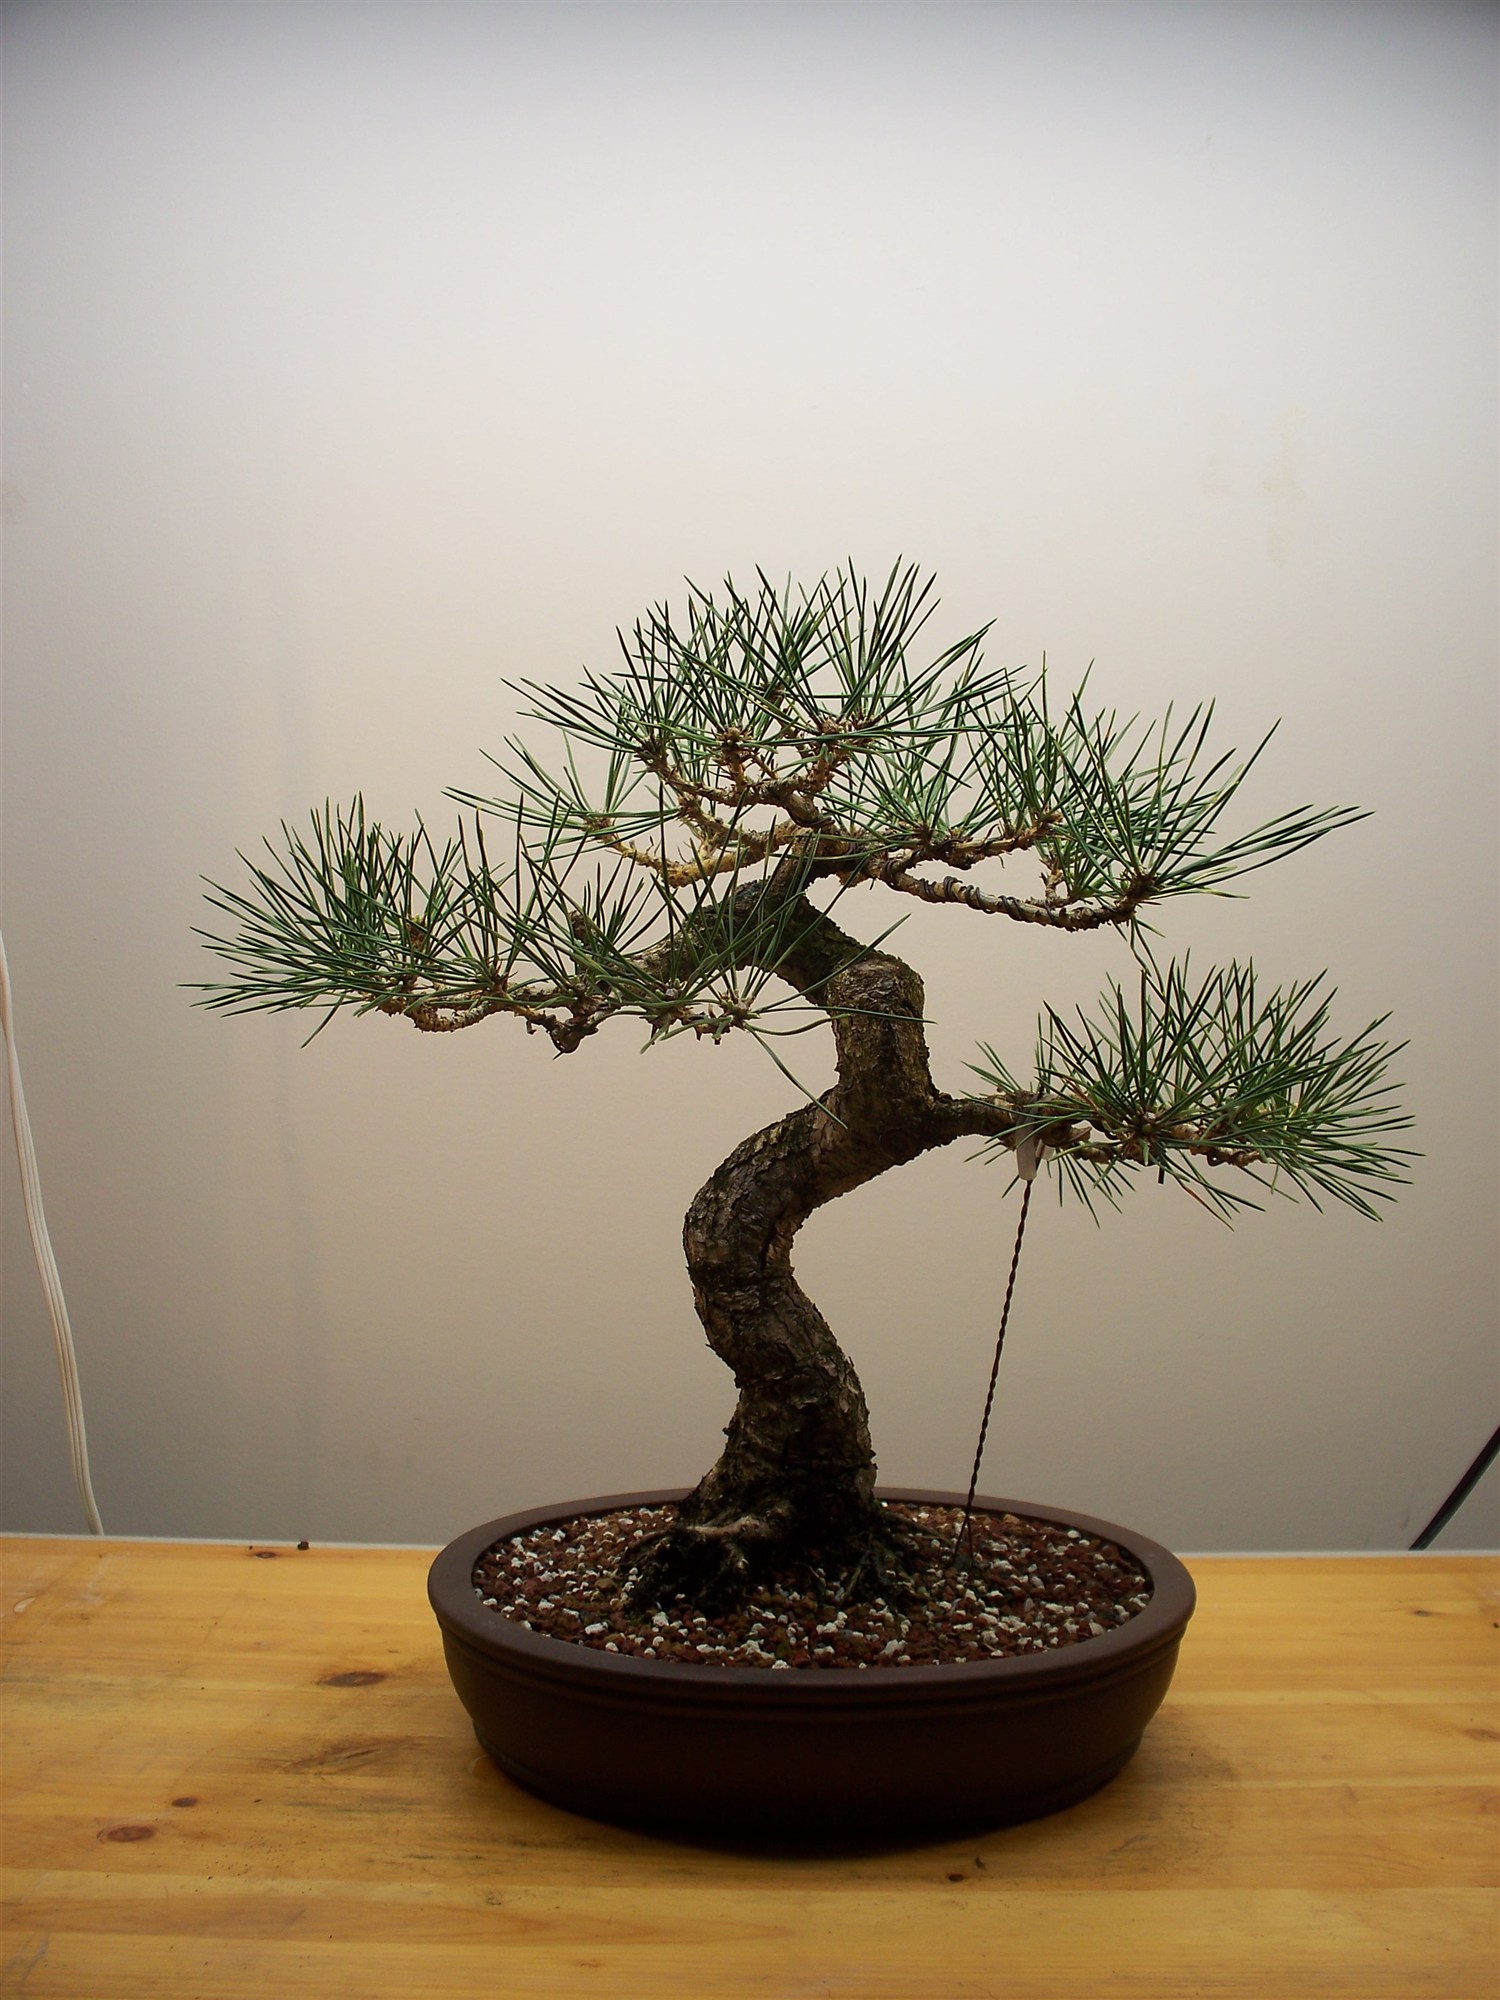
In summer 2009 it was wired again: not the first time, and not the last. Wire on a pine is never a one-off. The branches set in place over a season or two, the wire comes off before it bites in, and the next round refines what the last one started. By this point the outline was starting to read as a tree rather than a shrub.
The guy wires anchored to the pot do a job wire alone can’t on a branch that’s too thick to bend comfortably: they pull it down slowly, and the branch sets in its new position over a season.
Pads, and a stand
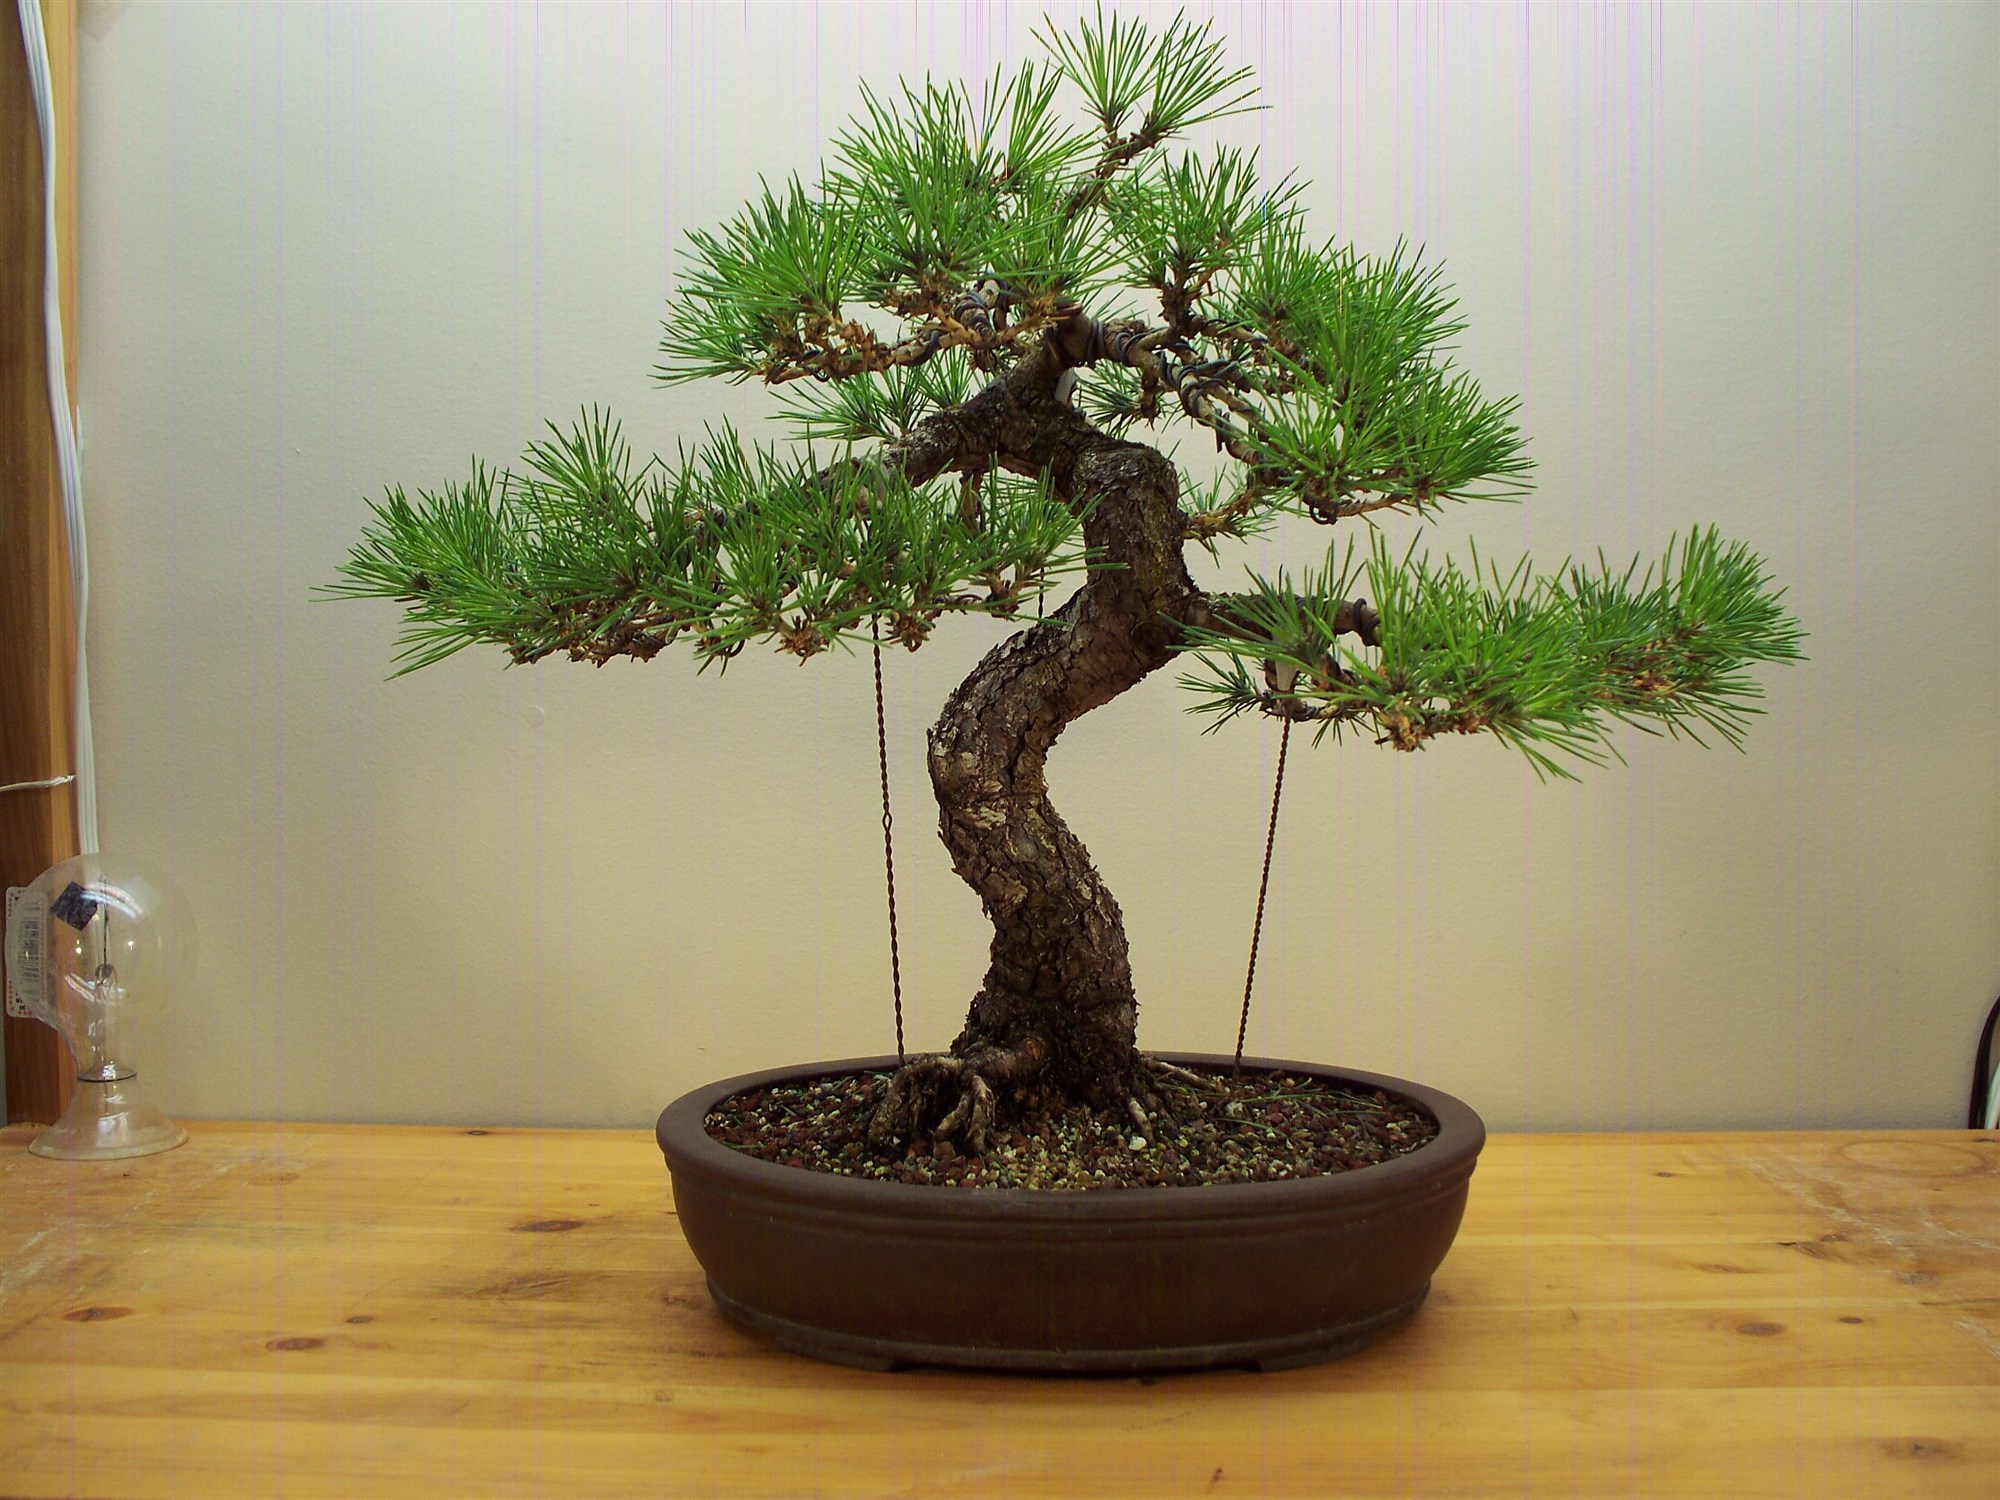
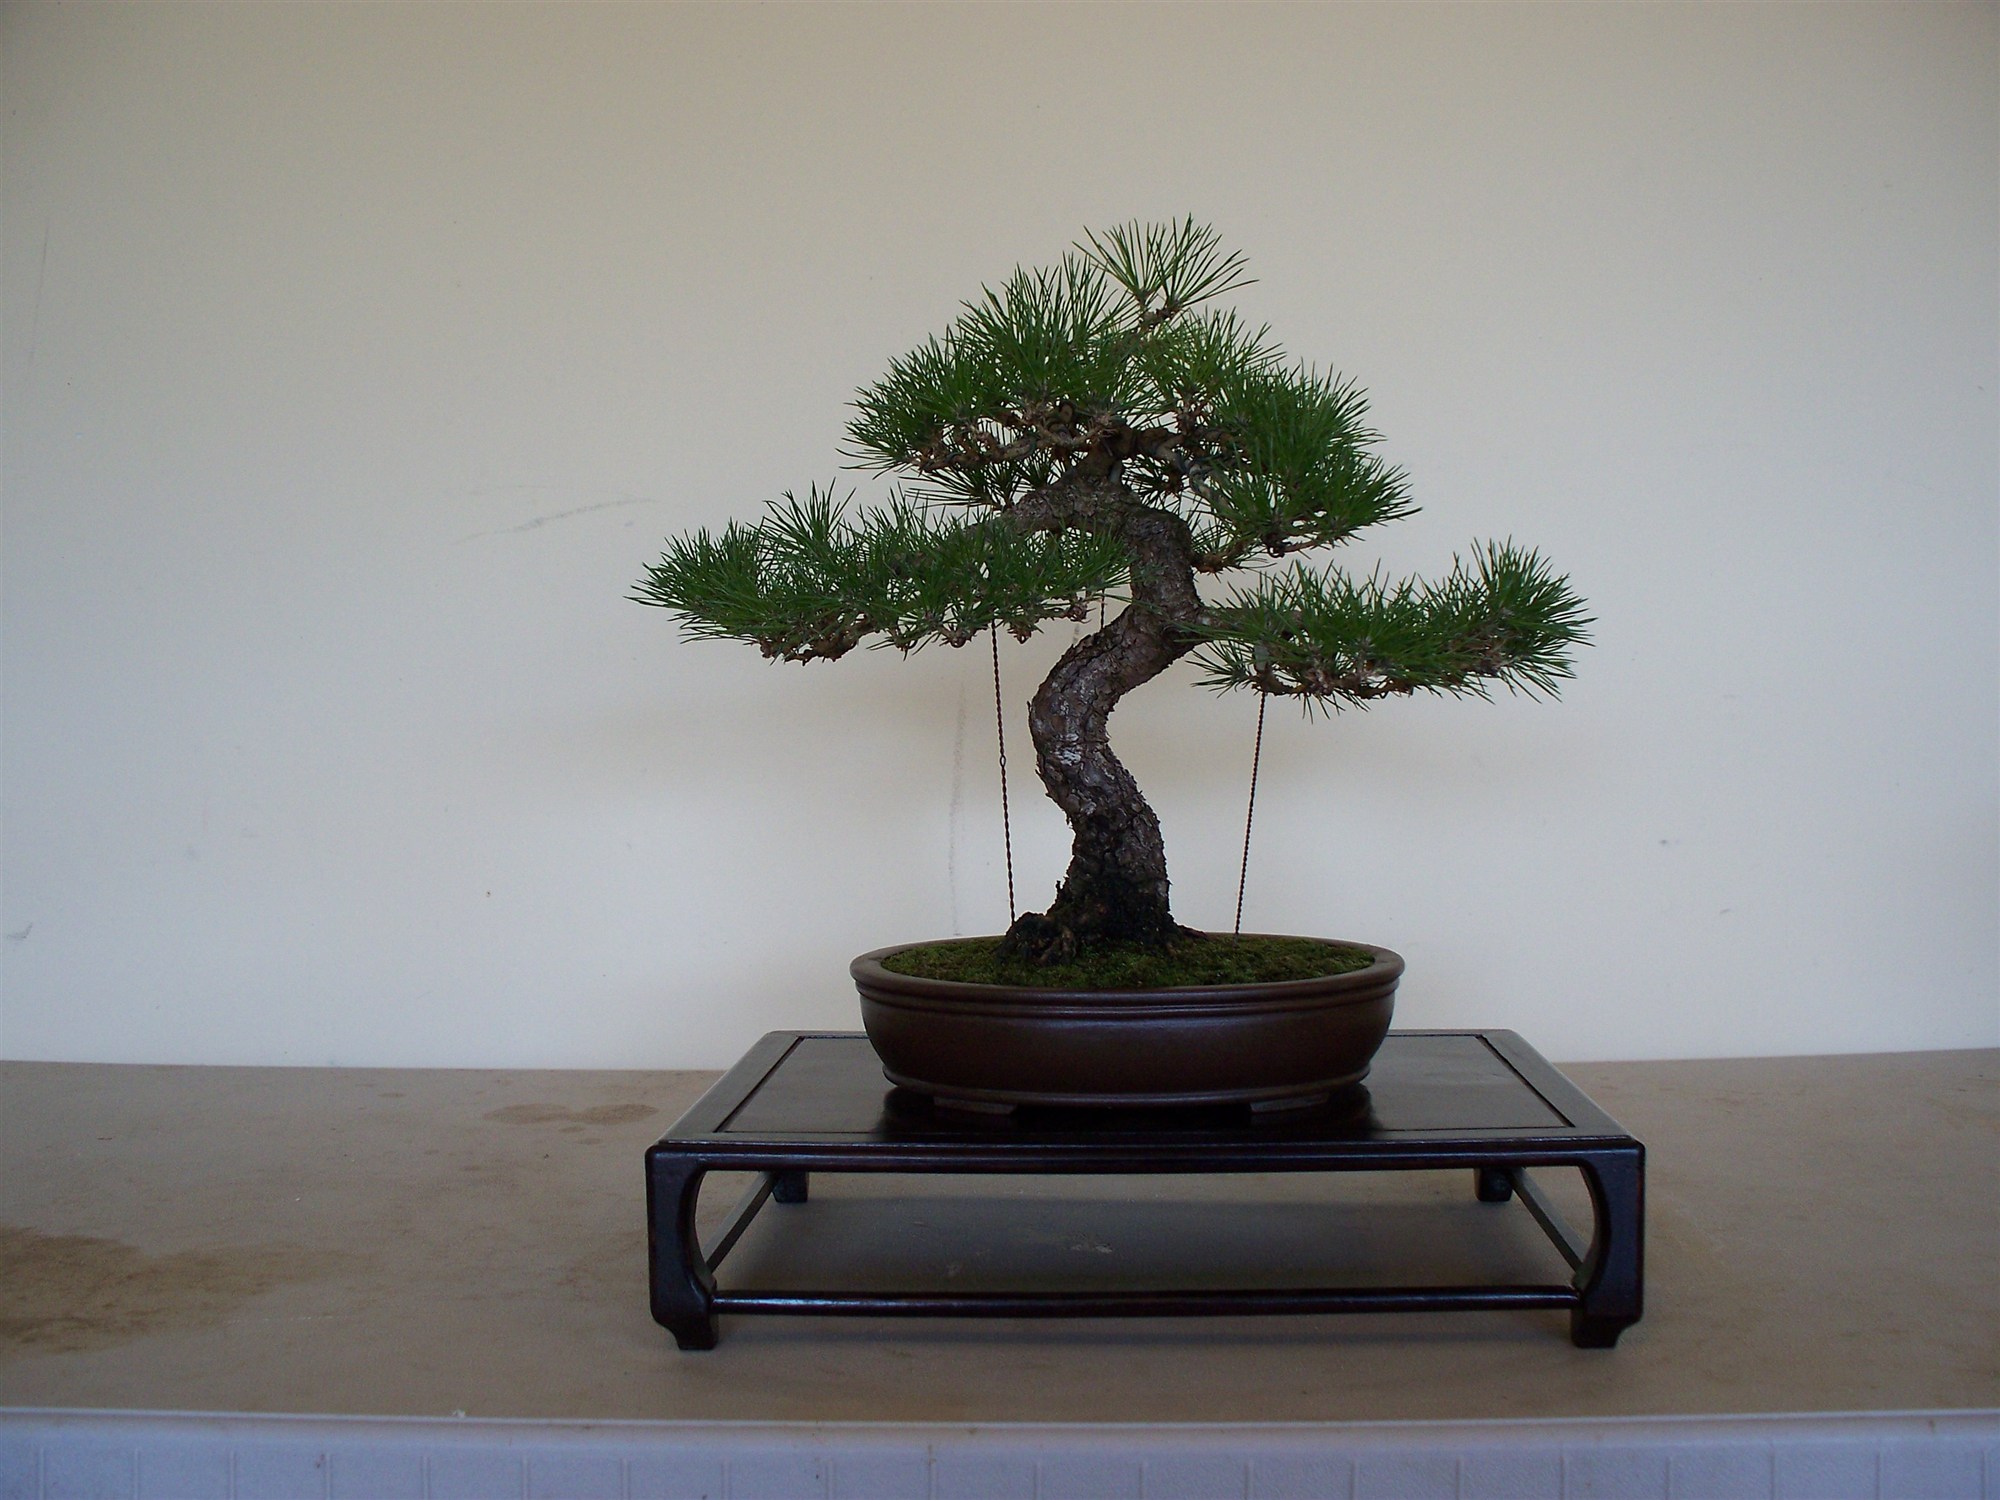
Four years after the workshop, the branches had filled into pads: dense, layered foliage with space between each level. That space is what makes a pine read as old.
That autumn I put it on a display stand. It wasn’t for a show; I just wanted to see how it would look. It’s worth doing with any tree you’re developing. A tree on the bench is a work in progress, and on a stand you see it the way a visitor would, which makes the next decisions easier.
Where 42 went
I sold 42 before I moved to Florida. (I’ve since moved back to Louisville.) Four years took it from an overgrown workshop pine to a tree that looked at home on a stand, and somebody else got to carry on from there.
The next tree in this series has a teacher behind it: 84, which came from Boon.


Leave a Reply